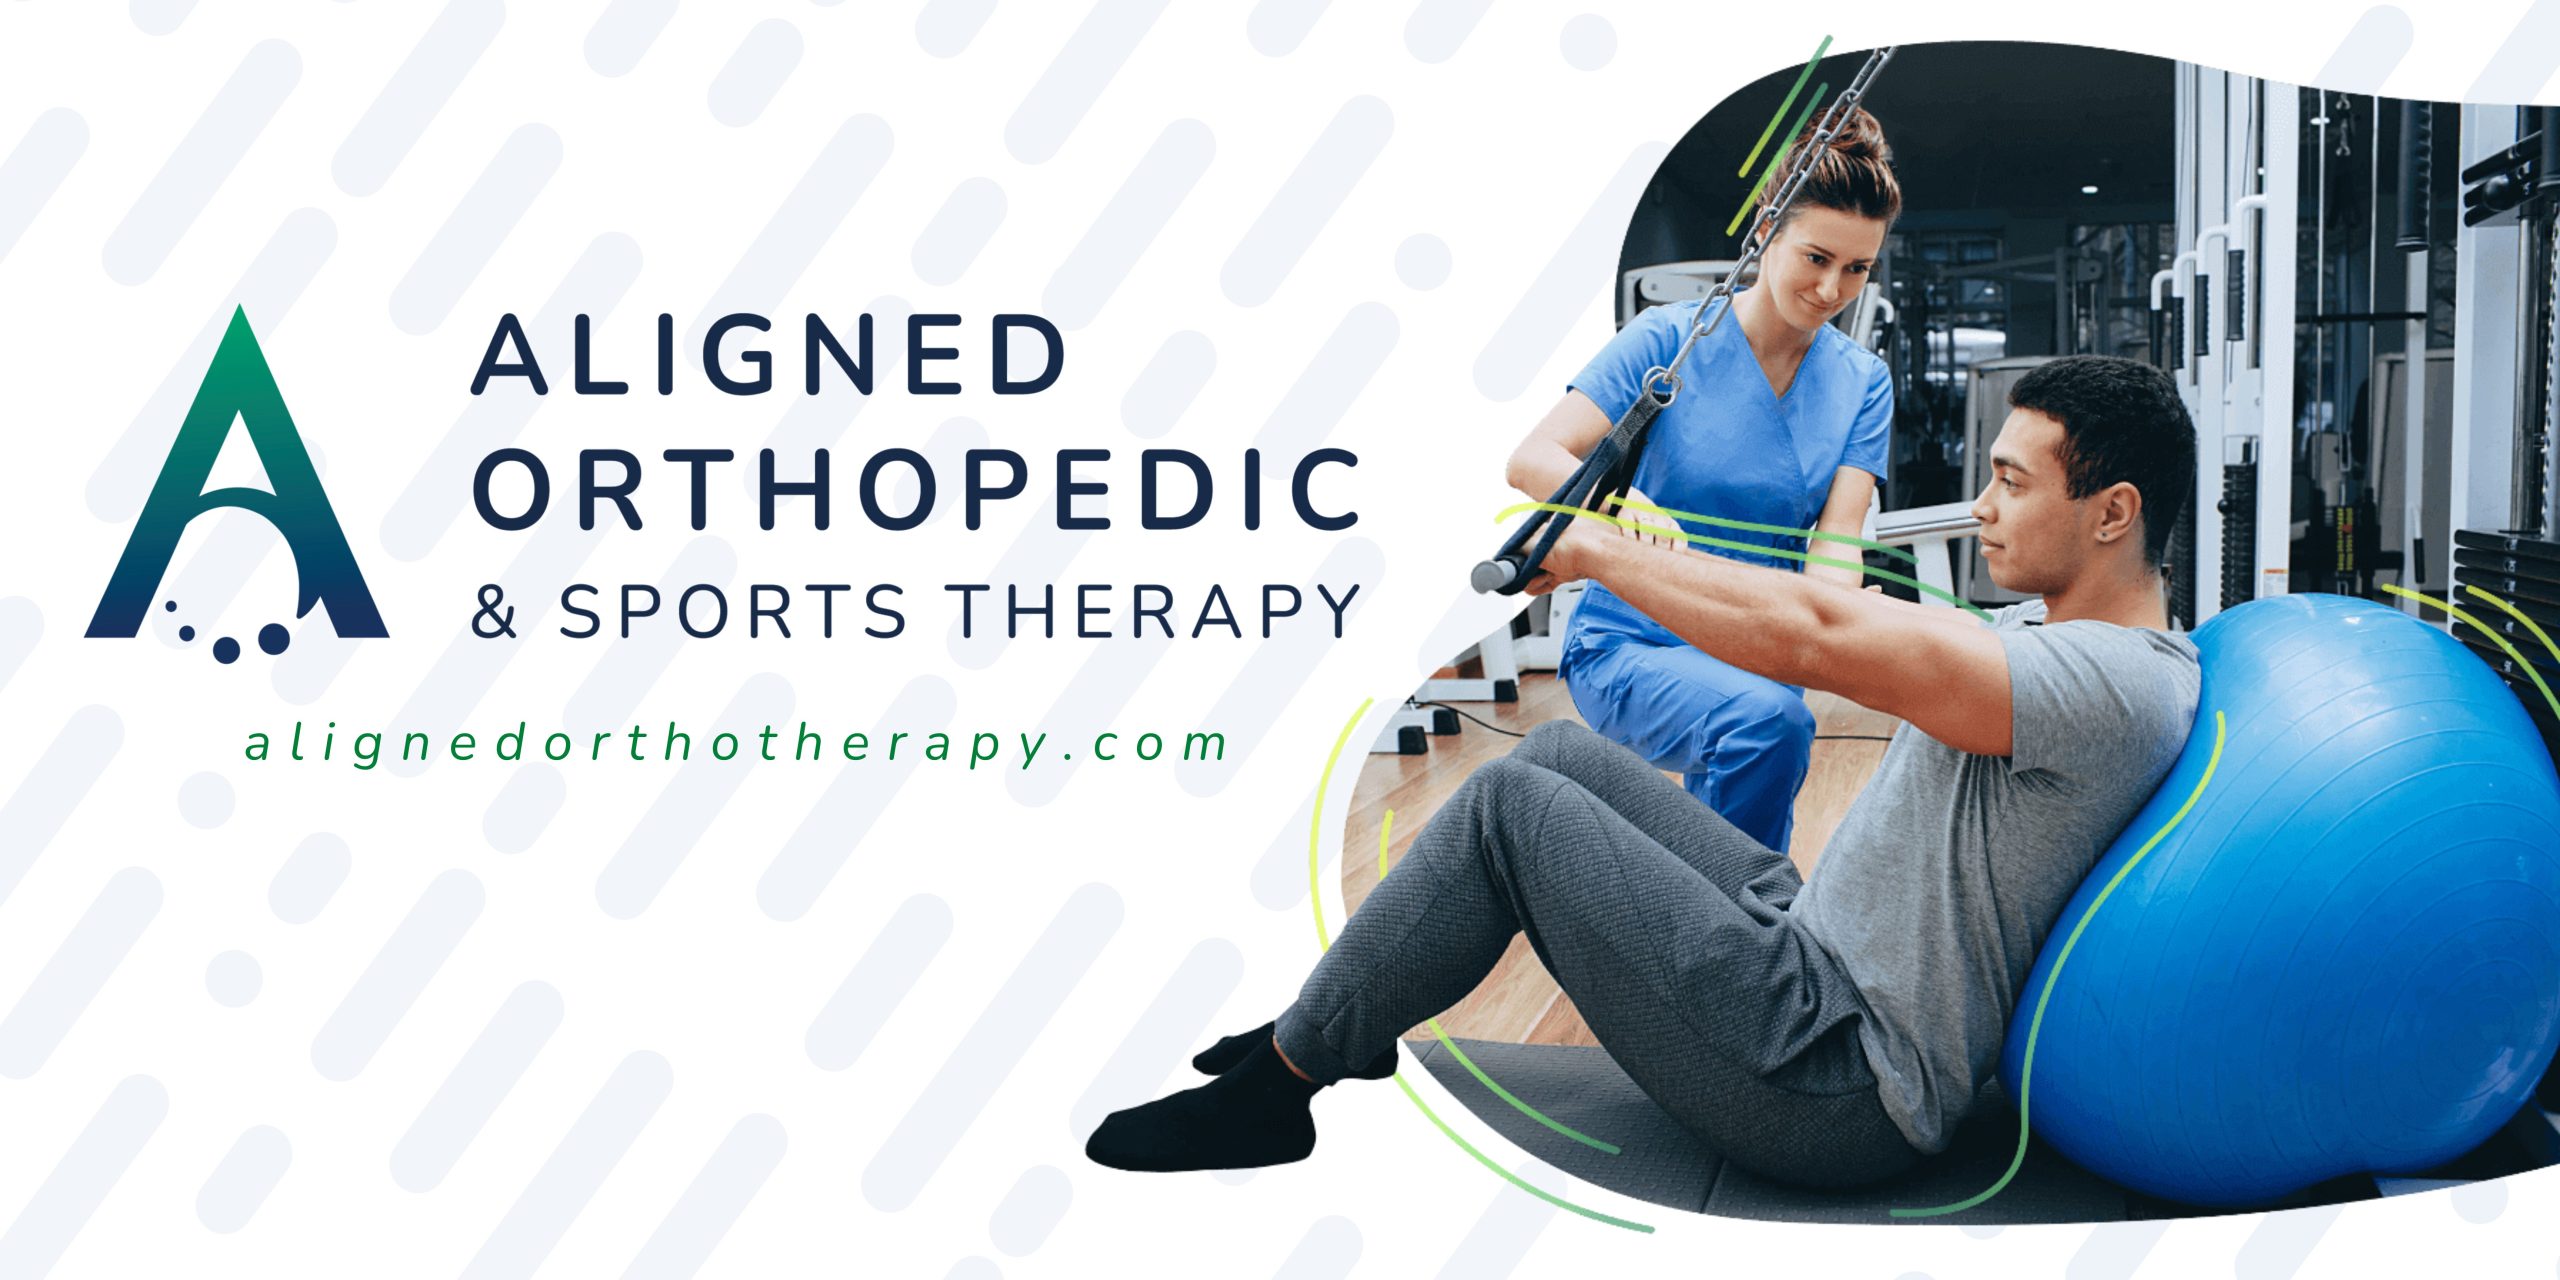
Premier Physical Therapy Powered by Aligned Orthopedics & Sports Therapy
We are excited to announce that OrthoBethesda Physical Therapy has changed its name to Aligned Orthopedic & Sports Therapy. The name change highlights our expanded presence in the community. We now provide therapy services for all of the Aligned Orthopedic Partners practices in the D.C. region: OrthoBethesda, Shady Grove Orthopaedics, and Washington Orthopaedics & Sports Medicine. While our name is new, our commitment to restoring patients to better health and improved function remains unchanged!
In our effort to provide premier services to patients throughout Bethesda, Chevy Chase, and beyond, Aligned Orthopedic & Sports Therapy is proud to offer rehabilitation services as a conservative treatment option for your orthopedic or musculoskeletal issues. Before pursuing any invasive treatment options, we provide conservative treatments first and foremost. If you have an ailment that doesn’t require surgery, we’ll likely prescribe physical therapy with our team of specialists.
When you come to our office, you’ll immediately feel at ease in the personal and comfortable setting of our physical therapy suites, where your orthopedist can drop in and monitor your progress whenever needed.
When you choose Aligned Orthopedic & Sports Therapy, we’ll strive to help you return to living a full, healthy, and active lifestyle. By creating a personalized treatment plan, we can help you regain your strength and mobility so that you can get back to enjoying your life.
Helpful Exercises For Physical Therapy
Of course we should all eat right, control our weight and get exercise. However, joint problems can make these goals even more difficult. The following frequently asked questions help highlight the special benefits to your health and the special challenges you may face.
Can exercise really affect my lifestyle?
Americans could significantly improve their health and quality of life by practicing some form of physical activity on a regular basis. According to the Surgeon General’s Report on Physical Activity and Health, regular, moderate physical activity is beneficial in decreasing fatigue, strengthening muscles and bones, increasing flexibility and stamina, and improving an overall sense of well-being.
Remember, you don’t need to lift weights or train for the marathon. Just do something active on a regular basis.
Is there a specific benefit of exercise for an arthritis sufferer?
Yes. Exercise helps to:
- Keep joints moving
- Strengthen muscles around the joints
- Strengthen and maintain bone and cartilage tissue
- Improve overall ability to do everyday activities
- Improve health and fitness by:
- Increasing energy level
- Improving sleep
- Assisting weight control
- Improving overall cardiovascular condition
- Decreasing depression
- Improving self-esteem and emotional health
What happens if I don’t exercise?
Lack of exercise contributes to:
- Smaller and weaker muscles
- Brittle bones
- Pain
- Disfigured joints that stay in one position for so long that the ability to straighten them may be lost
- Loss of mobility in joints that may become locked in a position if they are not routinely worked
What type of exercise programs should an arthritis sufferer use?
For most people, a balanced exercise program is best. However, before you begin an exercise program, you should consult a physician on a program that is tailored to your needs and that considers your joint health. It should include a combination of the three main types of exercise:
- Range-of-Motion Exercises: These are basic stretching exercises to keep joints supple and mobile by moving them through their full “range-of-motion”. Make sure that you get the advice of a medical professional about which kinds of this exercise you should do and which joints to focus on.
- Strengthening Exercises: These are beneficial because they help maintain or increase muscle strength. Some special exercises have been developed that allow you to strengthen muscles without putting stress on joints. They may involve pulling or pushing against an object that does not move (such as the floor or wall). These “isometric exercises” can be as simple as just flexing and relaxing certain muscles.
- Endurance Exercises: These are beneficial because they strengthen the heart, while making the lungs more efficient and improving stamina. They also help improve your sleep, aid weight loss and lift your mood. Examples are walking, cycling and swimming.
Before you begin an exercise program, you should consult a physician or a physical therapist, especially if you have not exercised in a while, have had any surgical procedures, or are over age 40.
Related Content
- How Much Does Physical Therapy Cost?
- The Role of Medical Imaging in Physical Therapy
- What Makes a Good Physical Therapist?
- What to Wear to Your Physical Therapy Appointment
- 4 Common Reasons Why Physical Therapy Is Important
- How to Become a Physical Therapy Assistant
- Making the Most of Virtual Physical Therapy
- Occupational Therapy vs. Physical Therapy
- Should You Get Physical Therapy After a Concussion?
- Top Reasons You Should See a Certifed Hand Therapist
- Best Physical Therapy Methods for Treating Shoulder Pain and Injuries
 ">
">
Get in Touch
Contact OrthoBethesda for Physical Therapy Services
For over 50 years, OrthoBethesda has provided Maryland with quality orthopedic treatment. Contact us or easily call at (301) 530-1010 to make an appointment with us today!